

Lamppost Bracket Mounting Instructions

Making the switch from potting up plants to hanging lamppost brackets can be intimidating. But not to worry this set of instructions will walk you through it.

When you place your order with us you will need to provide us the dimensions of the lamppost. The best way to do this is by using cloth tape. This pole is 15 ¾ inches CIRCUMFERENCE. I know you probably did well in 6th grade geometry and you know that circumference is the distance wrapping around the outside of the pole and diameter is the width of the pole (straight through), but you’d be surprised at how often we get the wrong term.

Pictured here is a double-armed roundstock lamppost bracket, including: two (2) lamppost bracket arms and two (2) t-bolt clamps. Because there are two attachment points even single arm lamppost bracket arms will come with two t-bolt clamps.

The t-bolt clamps have an attached threaded bolt with a removable, locking nut.

Remove the nut and thread the clamp through the hole in the lamppost bracket support. Start with the top support. If you are hanging a double arm brackets, thread the clamp through both bracket arm supports. Again, start with the TOP SUPPORT FIRST, you’ll see why as you put it up.
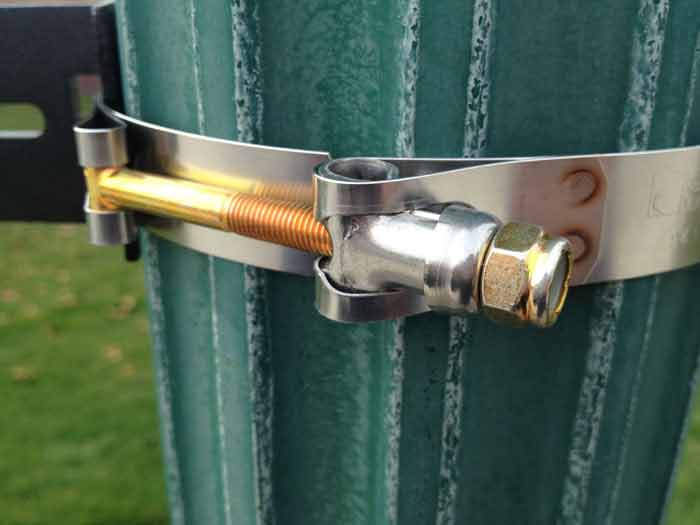
Mount the assembly on the lamppost by closing the clamp and threading the bolt through the receiving fixture on the other end of the clamp. At this point BEFORE TIGHTENING DOWN THE SCREW you can move the brackets to the exact location and orientation you need.

Once you get that spot tighten down the nut with a wrench or pliers.

Repeat the process for the second, lower support. And yes, it will hold the weight.