

Box Planter Assembly Instructions

First grab your gear: tri-fold flat, 2 endcaps, lid, and 12 pushpins.

Fold up the two side flaps of the box (front and back).
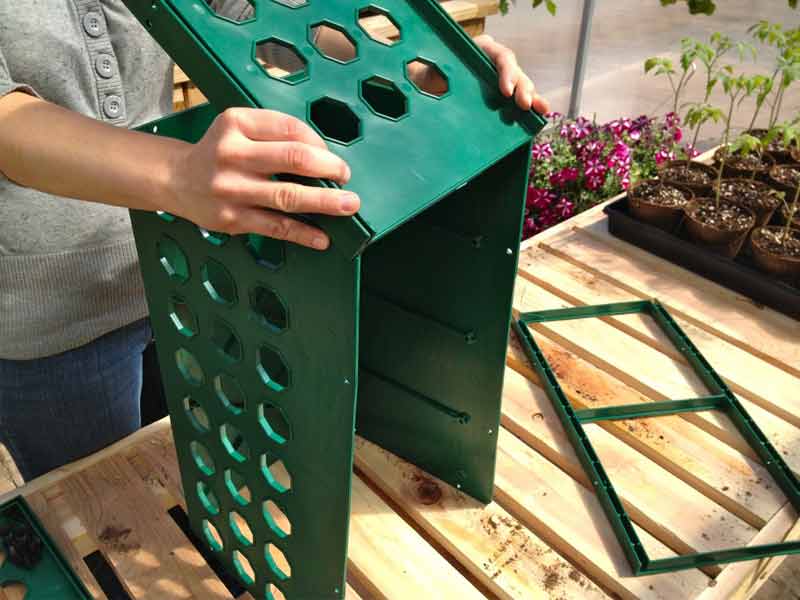
Set the folded box on its end and mount one endcap onto the folded flat. I find that it’s easiest to start at the top aligning the two folds then line up the bottom.


Repeat the process for the second endcap.

With the two endcaps mounted the box will stand on its own but be a little flimsy. Now put the lid on. I find that it’s easiest to start from one end aligning the end of the lid with the center of the endcap.

When that end is firmly “snapped” on, hold it in place and slowly work forward snapping the rest in place.

The trick here is to make sure the flap is aligned with the lid opening and with a little pressure the lid will snap securely on the rest of the box.

With all the parts connected the box will be pretty secure but the push pins will ensure it all stays together.

Take the push pins and insert them from outside the box through the aligned holes in the endcap and flat. They can typically be pushed through by hand but if you need some extra umpf, us a rubber mallet or small piece of wood to allow you to lean into it just a bit more.

The push pins go in the front…


Remember these pins will not come out.

But don’t pin the top. Well, technically you can but we advise leaving it un-pinned so you can take the lid off at the end of the season making the box a lot easier to dump out.
And that’s it. Enjoy your box planter!
