


Kat Jones

Converts food scraps to wonderful Earthworm Castings
Design by Vermitech specialist, Todd Spratt PARTS NEEDED:
- 30 gallon plastic storage container
- 8-2 inch square pieces of window screen
- Top and cap from a typical water bottle
- 2 heavy duty nursery flats
- 12-1 inch screws or fence staples
- 3-1x3 wood stakes 3 ft. in length or like material
TOOLS NEEDED:
- Drill and 1 inch drill bit or hole saw
- Hand or power saw
- Screw driver and hammer
- Glue gun or caulking with silicone
- Scissors or tin snips and tape measure
The basic idea of this design is to create a raised interior floor so that moisture may drain away from the bedding collected and used to water plants, at the same time allowing air to circulate beneath the bedding.
BUILDING INSTRUCTIONS
Drill a one-inch hole at one end of your storage container in the center and as near the bottom as possible. Using a saw or knife, cut the top off the water bottle just below the rim. Unscrew the cap apply a bead of glue or caulk around the hole on the inside or the bin slip the bottle top through the hole from the inside and screw the cap back on. This will act as your drain. Note: you may have to enlarge the hole slightly with a knife or file so make sure the bottle top fits through the hole before applying glue. Now drill four 1-inch vent holes in each end of the bin 2 at the top and 2 at the bottom. Note: make sure the bottom vent holes are above the drain but below the raised floor. Apply glue around the vent holes on inside of bin a attach a 2 inch square piece of window screen over the holes. Cut the 1x3 raised floor supports the length of the inside of the bin place one on each side and one down the middle on edge, you may want four depending on the strength of your flats. Cut the flats with scissors or snips to fit the bottom of the bin they will overlap where they meet, then screw or staple the flats to the wood supports. You may also replace the flats with wire mesh or plywood with holes drilled in it. Add a layer of cardboard or paper over raised floor before adding bedding.
CLICK HERE FOR FOR RED WORMS TO POPULATE YOUR BIN!
Leave a comment
Your email address will not be published. Required fields are marked *
0 Comments
No Comments yet! Be the first to start a conversation
Further Reading
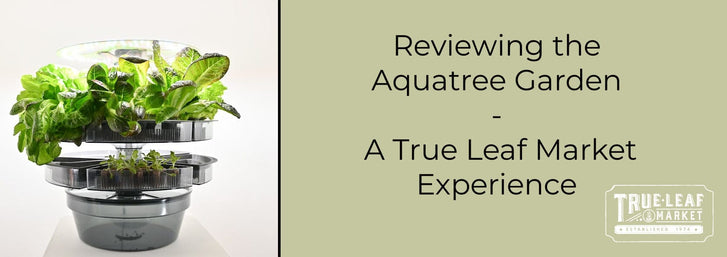
Reviewing the Aquatree Garden: A True Leaf Market Experience
The AquaTree Garden is an innovative growing experience! This nifty appliance allows you to grow leafy greens, microgreens, herbs, large sprouts, and vegetable starts (like tomatoes) all at once! When it comes to indoor gardening, there is no question ...

Ashleigh Smith
2024-04-225 min read1
Parasitoid Wasps: A Beneficial Insect in the Garden
Written By Lara Wadsworth There are estimated to be around one million different species of parasitic wasps worldwide. In fact, most wasps are parasitic, which means they live on or in a host at the host's expense. For common garden pests like aphids, ...
Ashleigh Smith
2024-04-226 min read0
Succession Planting: The Key to a Continual Harvest
Do you find yourself harvesting large amounts of any given vegetable from your garden all at once? There is a solution! The practice of succession planting, or planting in segments over a period of time, allows you to harvest root vegetables, leafy gre...
Ashleigh Smith
2024-04-223 min read1
10 Natives of the Southwest USA for Pest Control
Written By Lara Wadsworth The Southwestern United States is a region incredibly unique to the rest of the country. The hot, dry weather can be challenging for plants and animals to thrive without additional help. That is why gardening with natives can ...
Ashleigh Smith
2024-04-157 min read0